🔧 Overview
By default, Exchange Server uses a self-signed certificate for OWA (Outlook Web App) and ECP (Exchange Control Panel). However, this cert is not trusted by clients, leading to browser warnings like:
“Your connection is not private” or “Not Secure”
In a domain environment with a Windows Enterprise CA (Certification Authority), we can issue a certificate from the CA for Exchange Server’s web services.
This blog walks through:
- Creating a certificate request on the Exchange server
- Submitting it to the Domain CA
- Installing and binding the certificate for IIS
- Fixing the “Not Secure” warning in web browsers
✅ Step 1: Create the Certificate Request
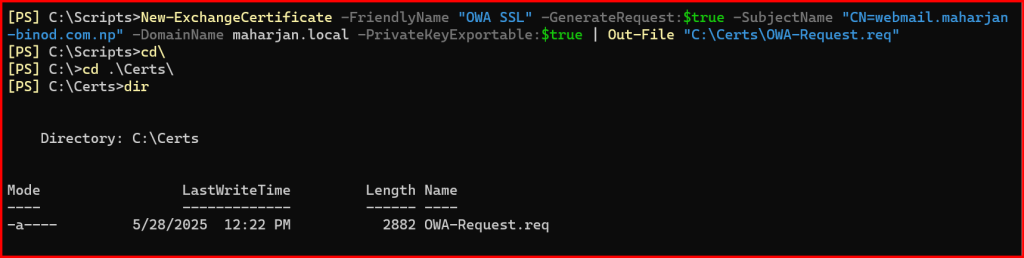
Open Exchange Management Shell and run:
New-ExchangeCertificate -FriendlyName "OWA SSL" -GenerateRequest:
$true -SubjectName "CN=mail.yourdomain.com" -DomainName mail.yourdomain.com -PrivateKeyExportable:$true |Out-File "C:\Certs\OWA-Request.req"
🔐 Replace mail.yourdomain.com with your server’s public/internal FQDN.
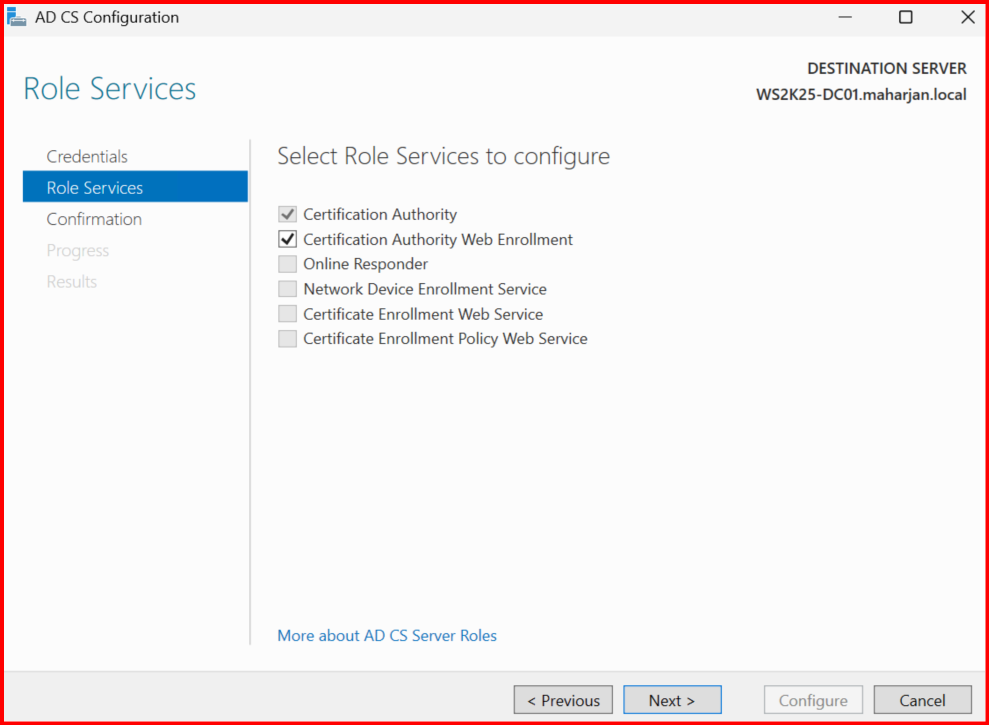
✅ Step 2: Submit the Request to the CA
On the Domain Controller (CA Server):
Ensure In CA server, Web Enrollment features is installed.
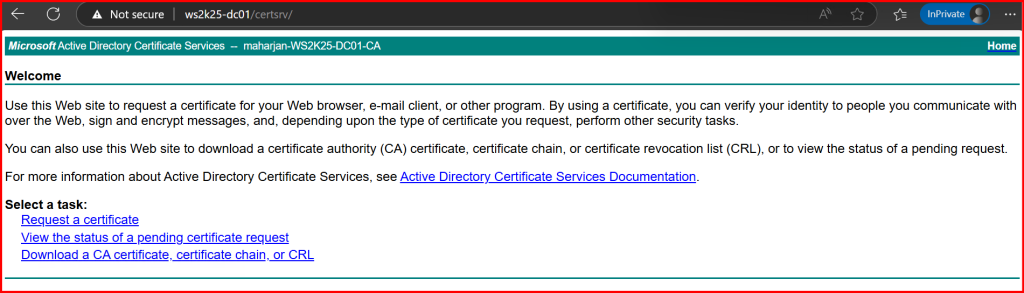
- Open certsrv (Certification Authority Web Enrollment) in browser:
http://<DCName>/certsrv
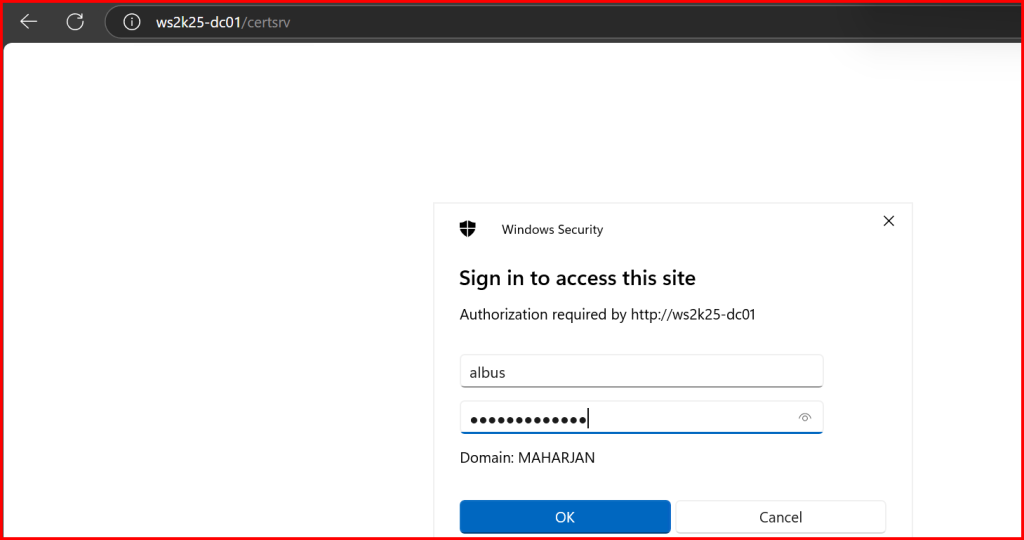
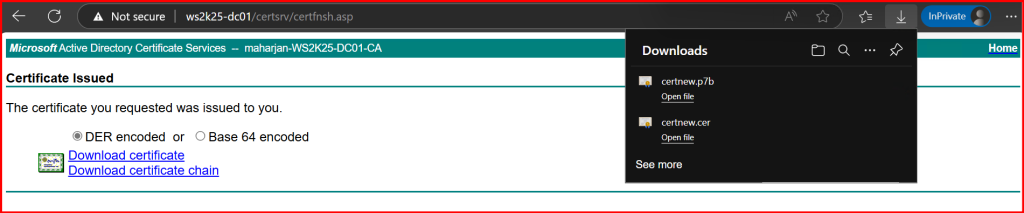
2. Click Request a certificate > Advanced certificate request > Submit a certificate request…

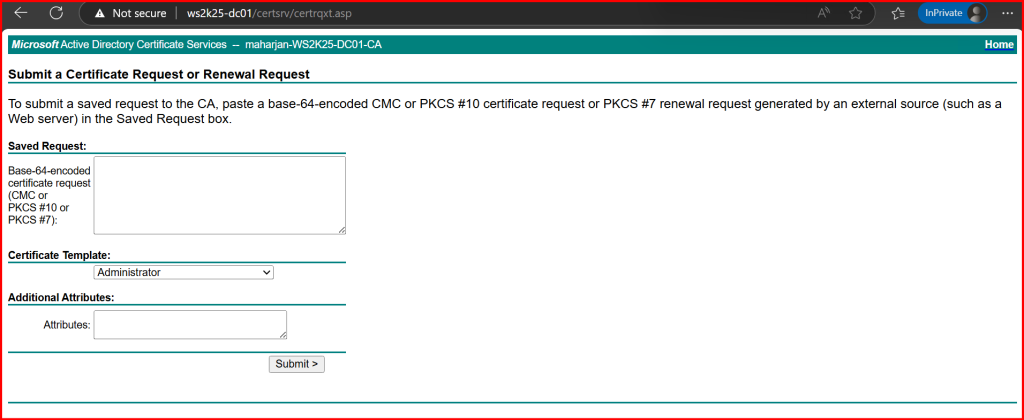
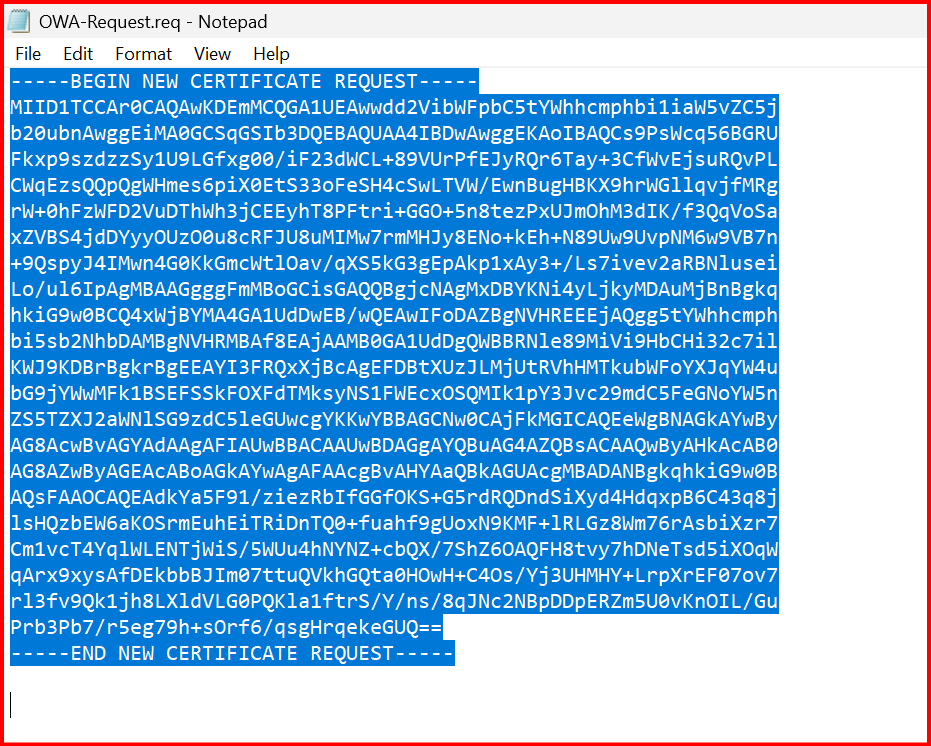
3. Paste the content of OWA-Request.req (open it in Notepad).
4. Choose your Web Server template.

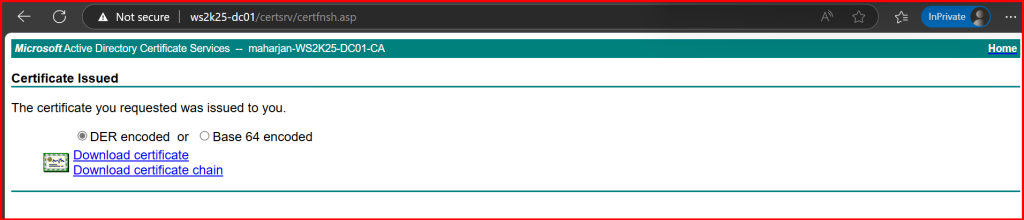
5. Submit and download the certificate as Base64 encoded (.cer).
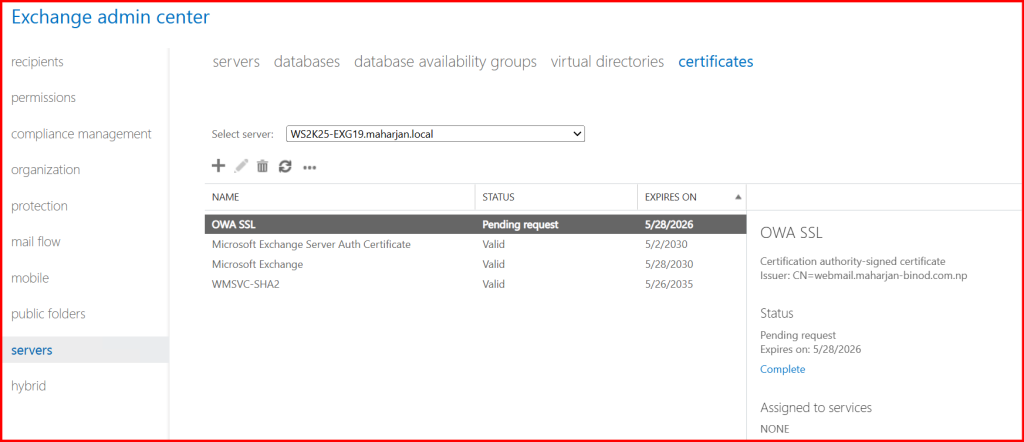
✅ Step 3: Import the Certificate into Exchange
Back on the Exchange Server:
Import-ExchangeCertificate -FileData ([Byte[]]$(Get-Content -Path "C:\Certs\OWA-Request.cer" -Encoding byte -ReadCount 0))
Note the Thumbprint from the output.

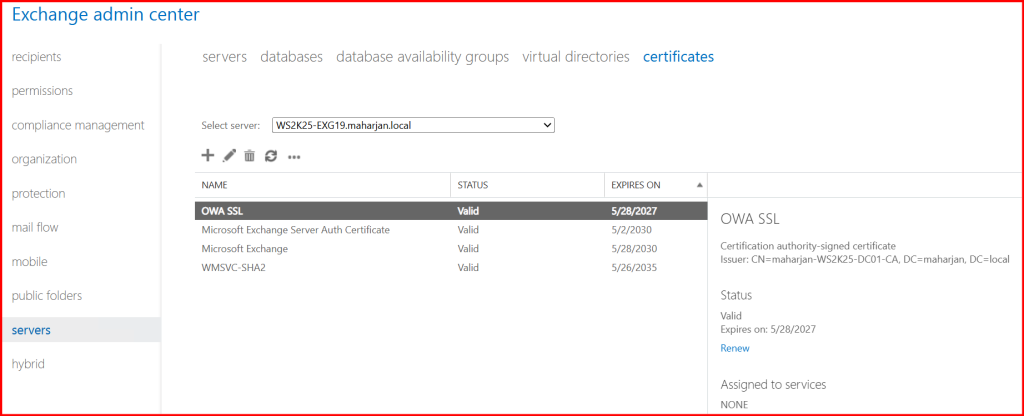
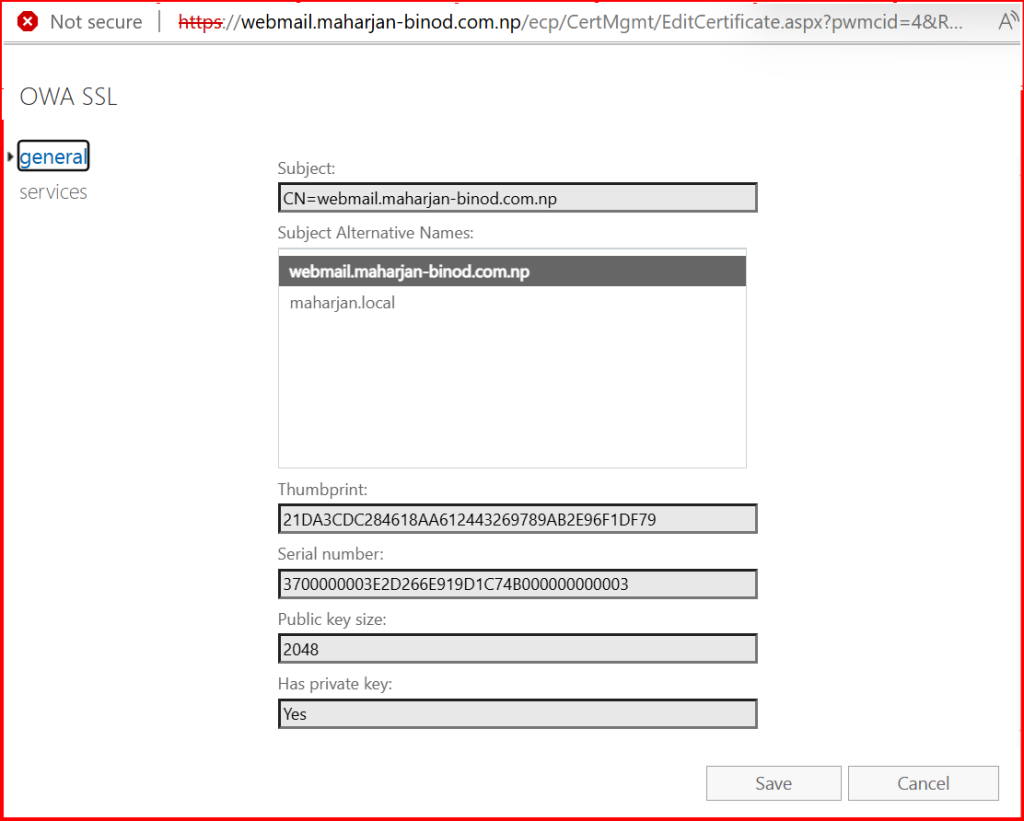
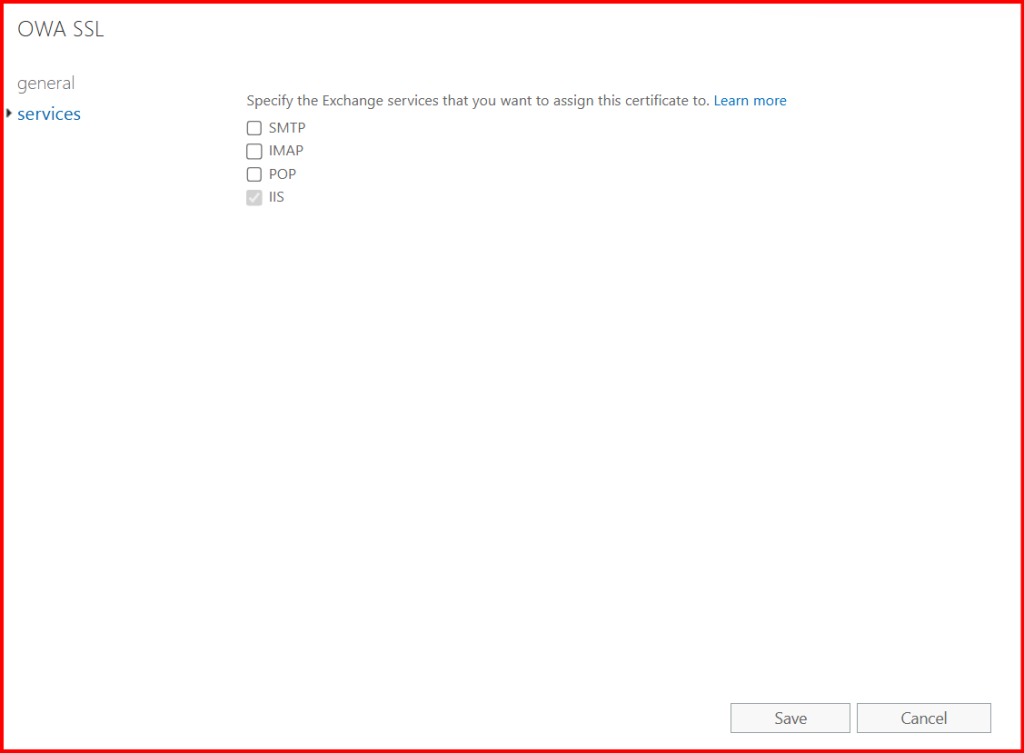
✅ Step 4: Enable Certificate for IIS (OWA/ECP)
Enable-ExchangeCertificate -Thumbprint 21DA3CDC284618AA612443269789AB2E96F1DF79 -Services IIS

Restart IIS to apply the changes: iisreset /noforce

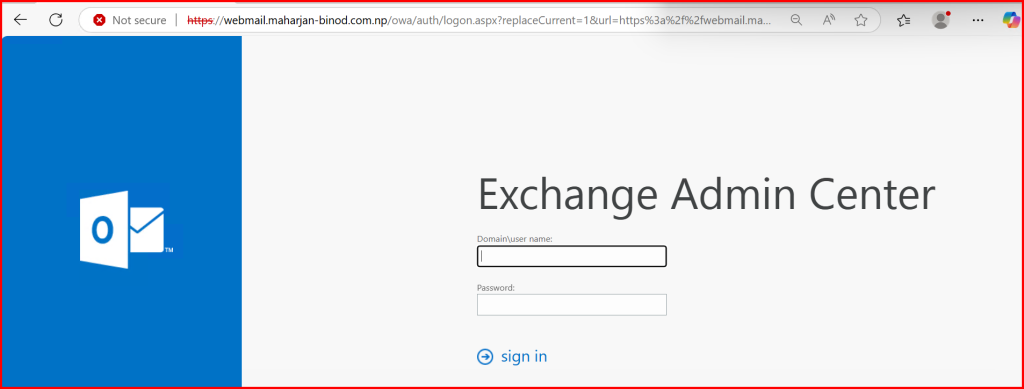
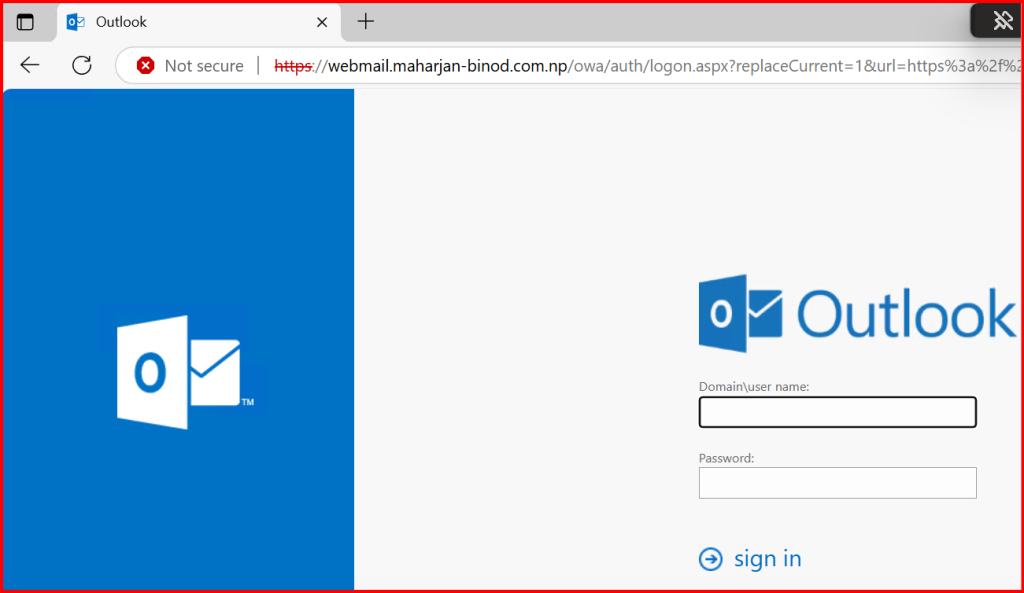
🚫 Step 5: Observe “Not Secure” Warning
Before installing the cert, open https://webmail.yourdomain.com/owa — you’ll likely see:
- 🔒 “Not Secure”
- SSL Certificate error (self-signed, untrusted)
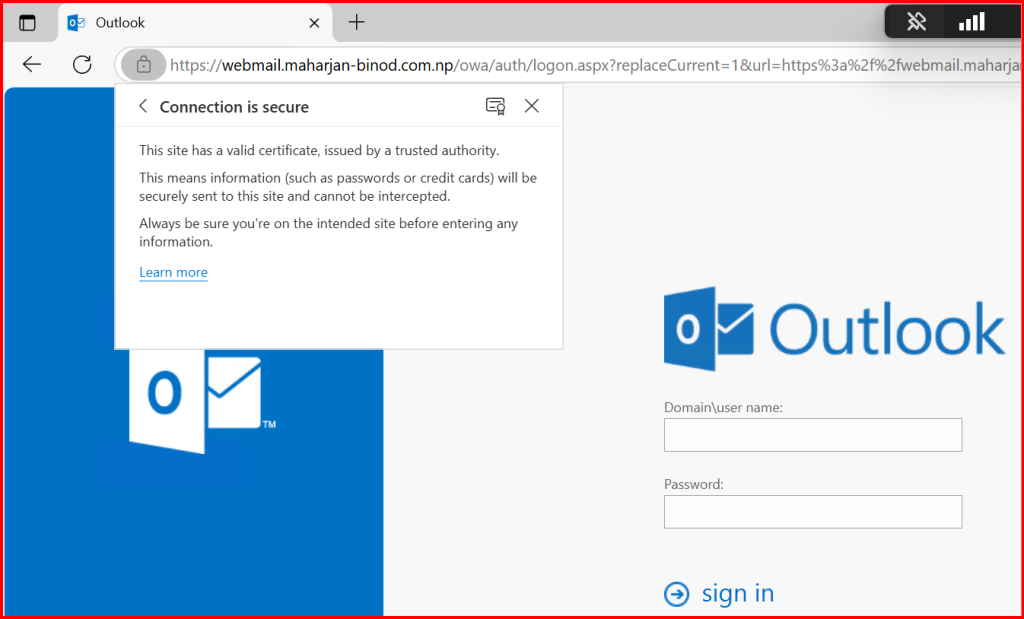
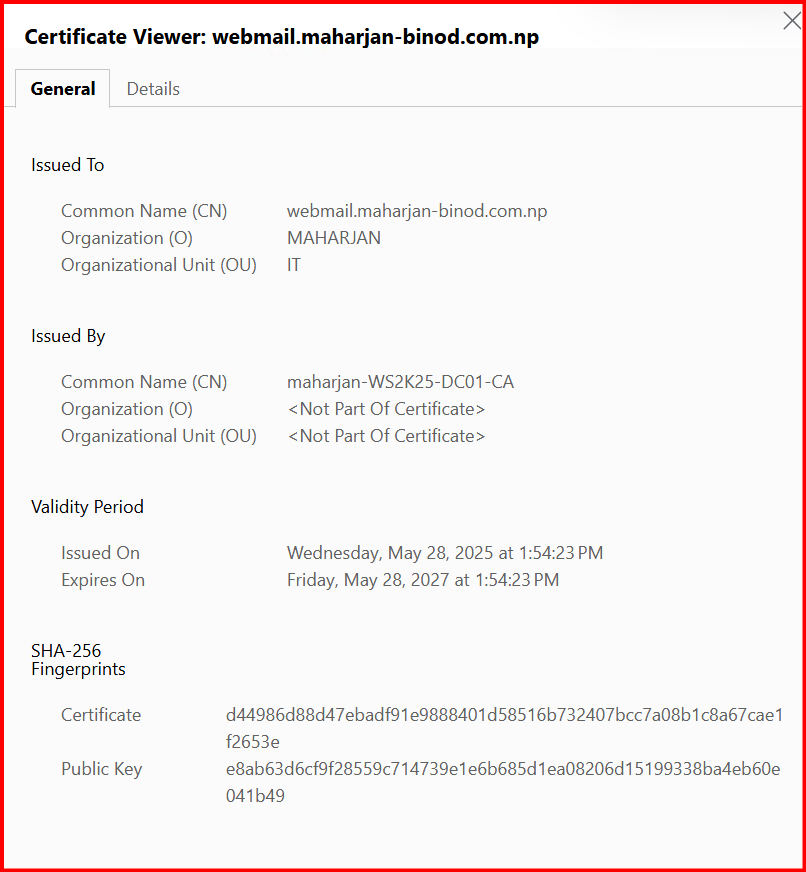
After binding the Enterprise CA certificate:
- ✅ No warning
- 🔒 HTTPS is trusted
- 🔁 Smooth access to OWA and ECP
🔐 Step 6: Export Certificate with Private Key (Optional)
To export and reuse on other servers:
Export-ExchangeCertificate -Thumbprint -BinaryEncoded:$true -Path "C:\Certs\OWA-Signed.pfx" -Password (ConvertTo-SecureString -String "P@ssw0rd" -AsPlainText -Force)
You can import this .pfx on another server with:
Import-PfxCertificate -FilePath "C:\Certs\OWA-Signed.pfx" -CertStoreLocation Cert:\LocalMachine\My -Password (ConvertTo-SecureString -String "P@ssw0rd" -AsPlainText -Force)
✅ Summary
In this post, you learned how to replace the default self-signed certificate used by Exchange OWA/ECP with a trusted certificate issued by your internal Enterprise CA. Here’s what we covered:
- 🔐 Generated a certificate request from the Exchange server using PowerShell
- 📝 Submitted the request to the Domain Controller’s Certification Authority (CA)
- 📥 Imported and enabled the certificate for IIS (OWA/ECP access)
- 🔄 Restarted IIS and ensured HTTPS traffic is trusted
- 🧪 Resolved “Not Secure” warnings in Microsoft Edge and other browsers
- 📤 Optionally exported the certificate as a
.pfxfor use elsewhere
🧾 Final Note
Using a certificate from your Enterprise CA not only eliminates browser warnings, but also ensures encrypted and secure access to Exchange web services across your organization. This is especially critical for internal users who rely on OWA and ECP regularly.
✅ If you’re running a lab or a production Exchange environment in a domain, this is one of the simplest and most secure ways to handle SSL without paying for public certificates.
Always test certificate changes during maintenance windows, and make sure clients trust your CA to avoid user confusion with certificate prompts.