
In this blog, I will guide you through the installation, roles, and configuration of the Active Directory server on Windows Server.
STEP1: Prerequisites for installing Active Directory Server
Before you install and configure an Active Directory Domain Services (AD DS) role, make sure the following prerequisites are in place:
🖥️ 1. Supported Operating System
- Windows Server 2016, 2019, 2022 or 2025 (Standard or Datacenter edition)
- Fully updated with the latest patches
🌐 2. Static IP Address
- Assign a static IP address to the server
- Ensure correct Subnet Mask, Default Gateway, and DNS settings
📌 Note: It’s common to use the server’s own IP as the preferred DNS (e.g., 10.10.10.94)

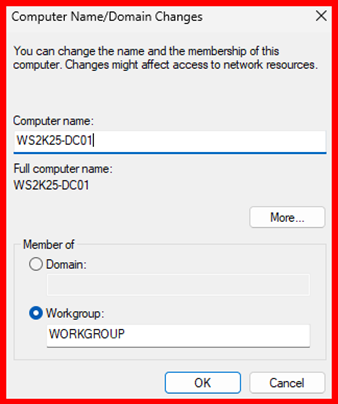
3. Computer Name
- Rename the server with a meaningful hostname (e.g., WS2K25-DC01)
- Avoid generic names like WIN-XYZ123
👤 4. Administrator Access
You must log in with an account that has local Administrator privileges to install AD DS
🛡️ 5. Firewall Configuration
- Ensure required ports are open if you’re on a network with strict firewall rules:
- TCP/UDP 389 (LDAP)
- TCP 636 (LDAP over SSL)
- TCP 88 (Kerberos)
- TCP 445 (SMB)
- TCP 53 and UDP 53 (DNS)
📄 6. Planning the Domain
Before creating a domain, decide:
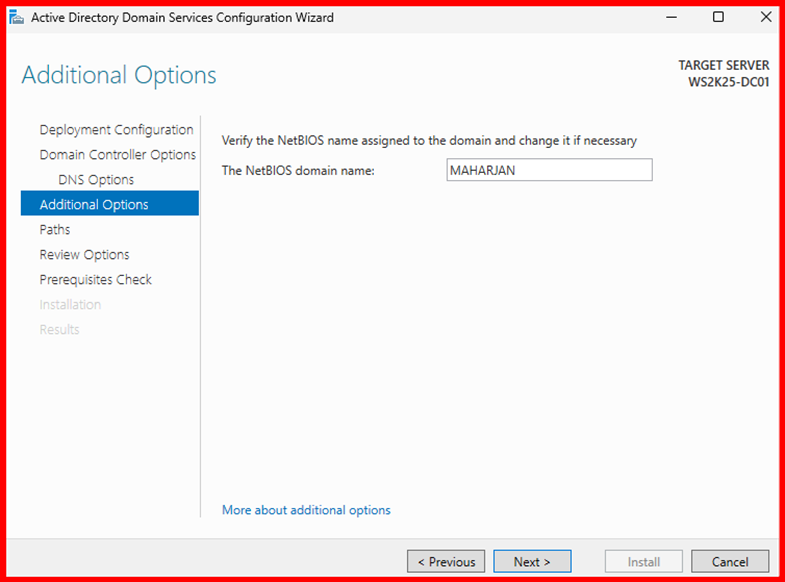
- Domain name (e.g., maharjan.local)
- NetBIOS name (short name for legacy systems)
- Forest and domain functional levels (based on compatibility)
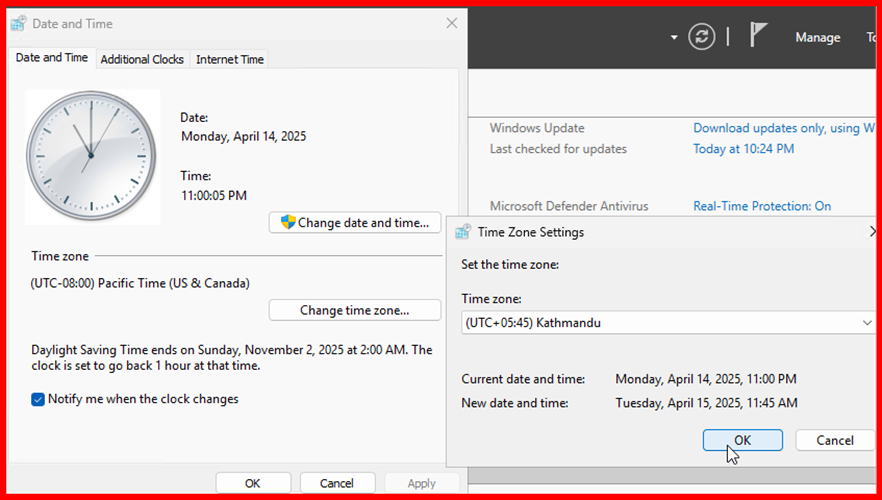
🔄 7. Time Synchronization
- Time should be correctly synced with an internet or internal time server
- Kerberos authentication depends on time being accurate
STEP2: Install Active Directory Domain Services (AD DS)
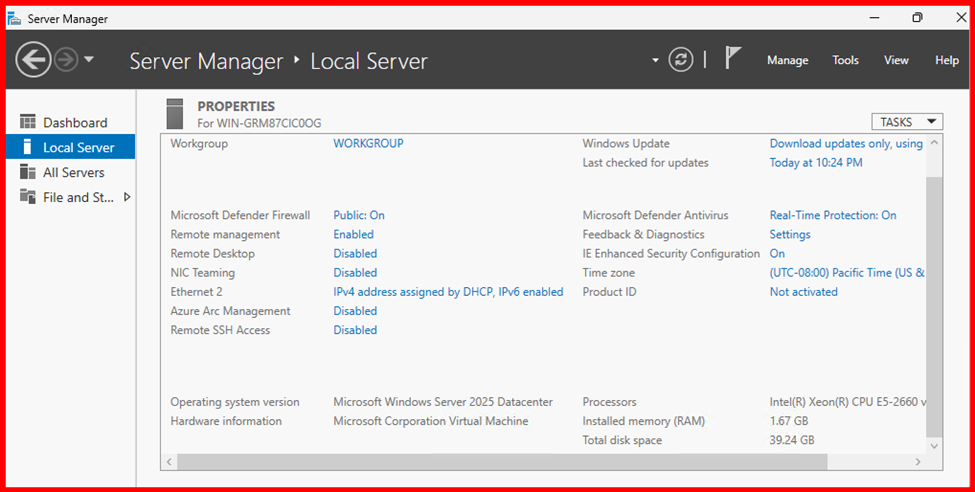
Step 1: Open Server Manager
Step 2: Click on Add Roles and Features
Step 3: Select Role-based or feature-based installation
Step 4: Choose your server
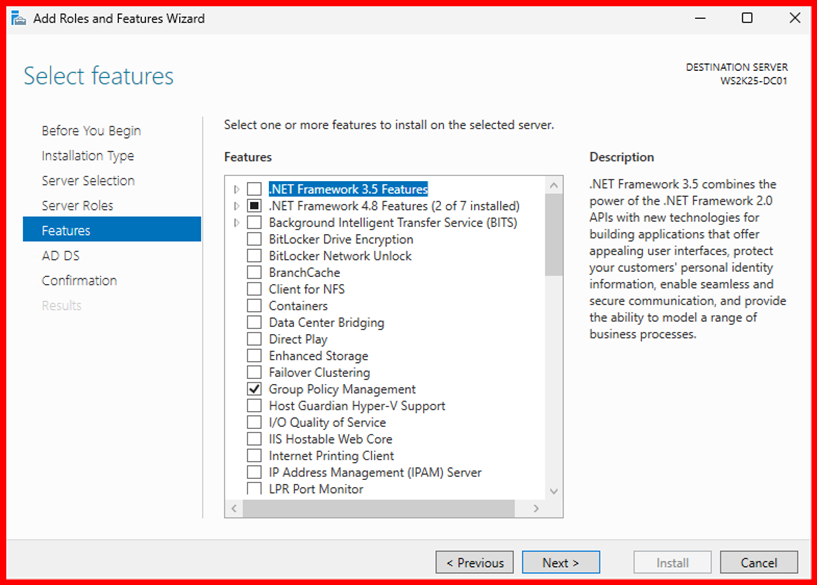
Step 5: Select Active Directory Domain Services
Step 6: Click Next > Install

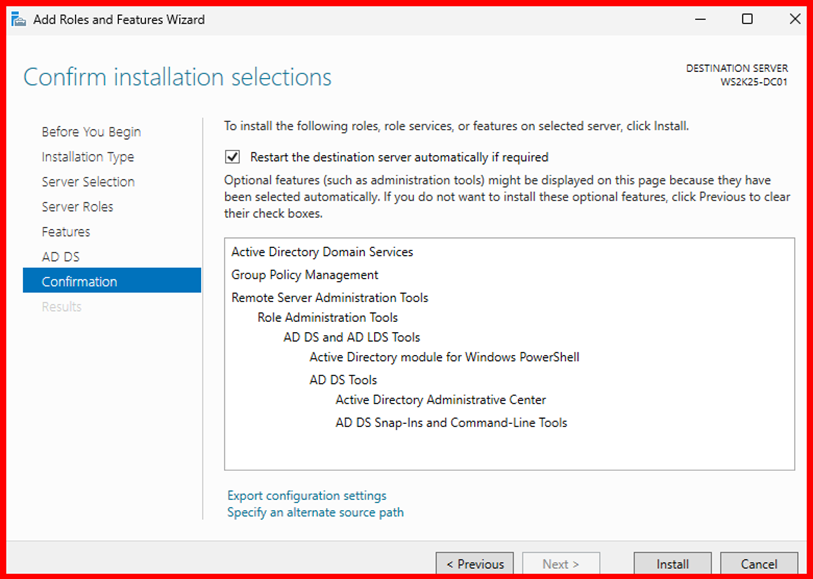
Step 7: Wait for few minutes to complete installation.
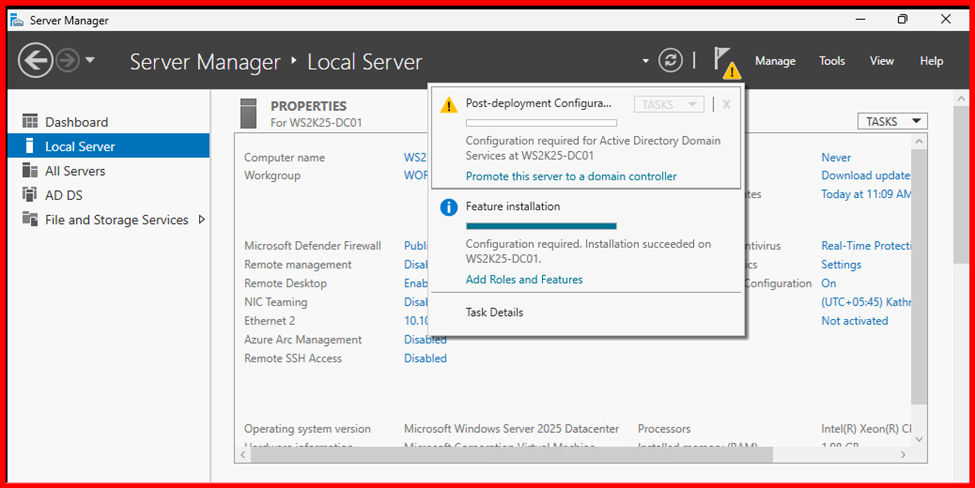
STEP3: Promote Server to Domain Controller
Step 1: After installation, click on the notification flag and select Promote this server to a domain controller
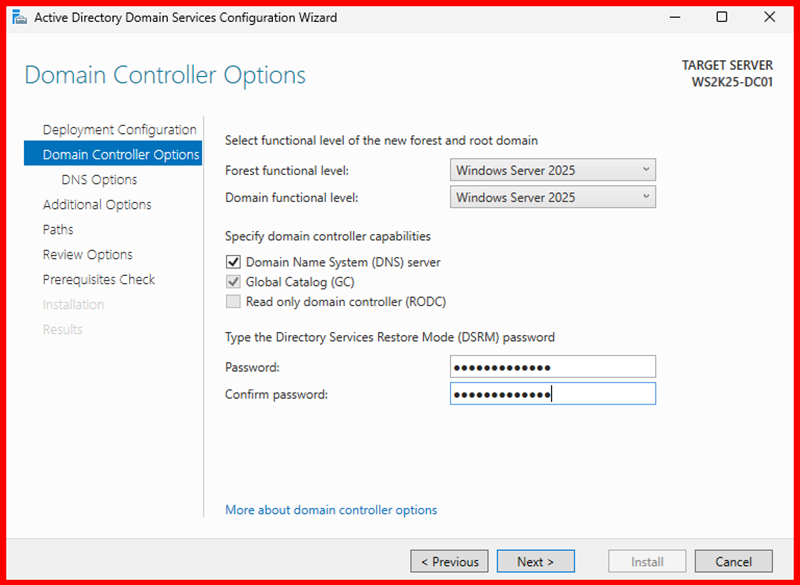
Step 2: Choose:
- Add a new forest
- Root domain name (e.g., maharjan.local)
Step 3: Set DSRM password
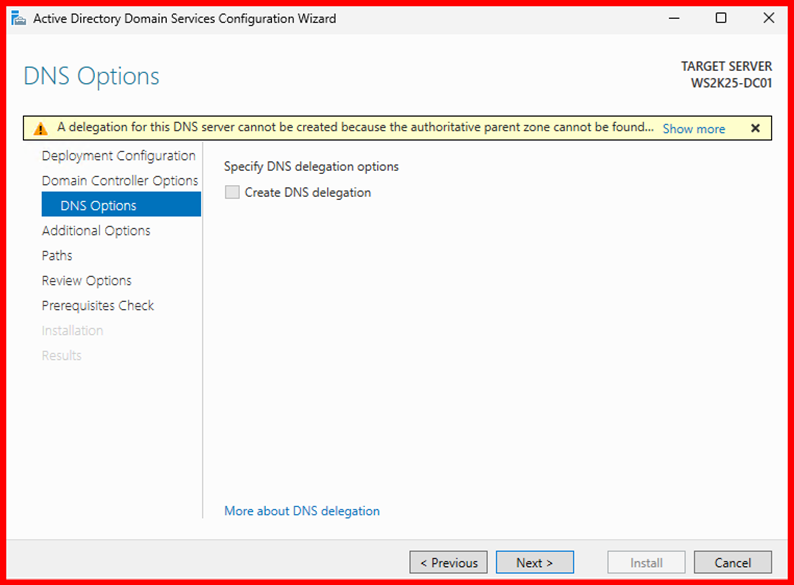
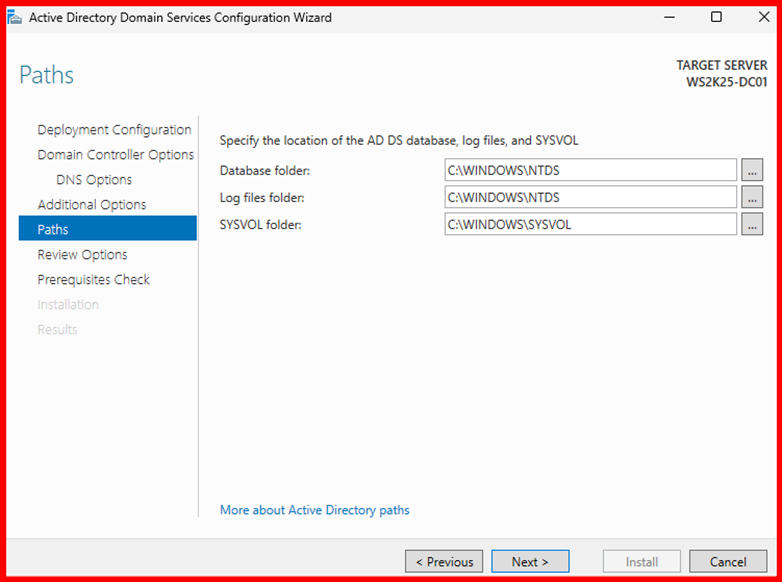
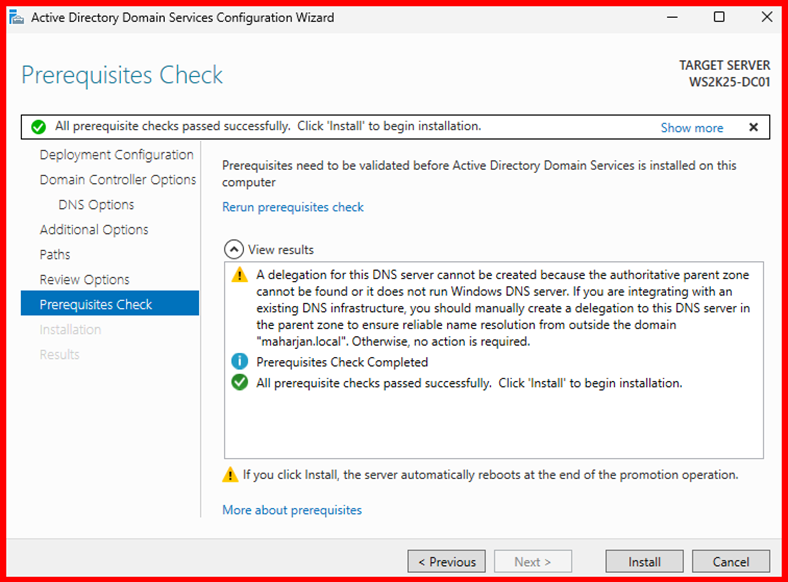
Step 4: Proceed through defaults and click Install

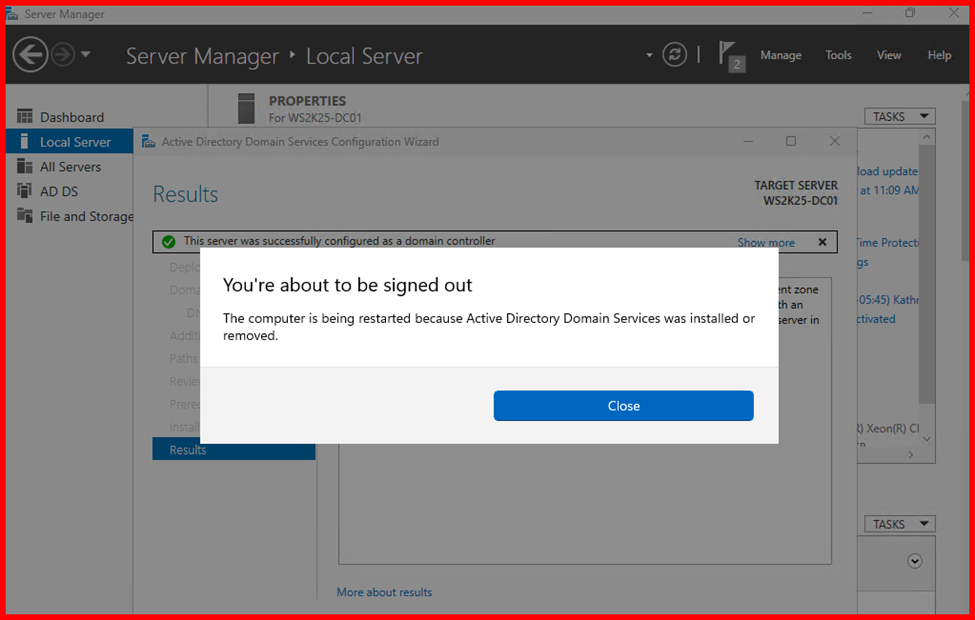
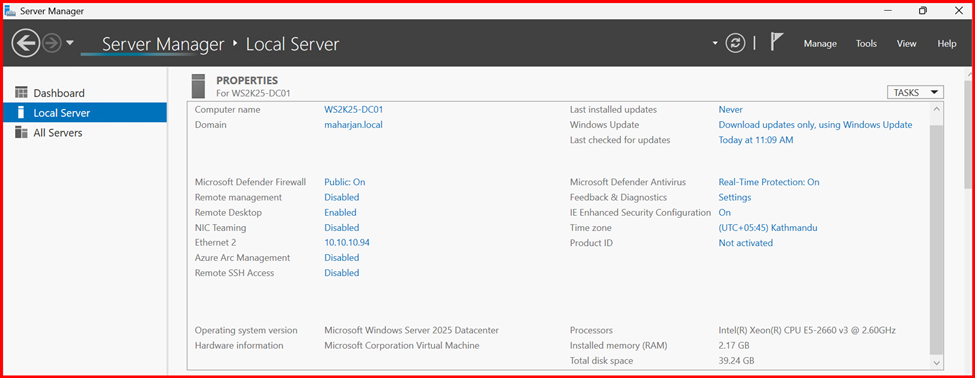
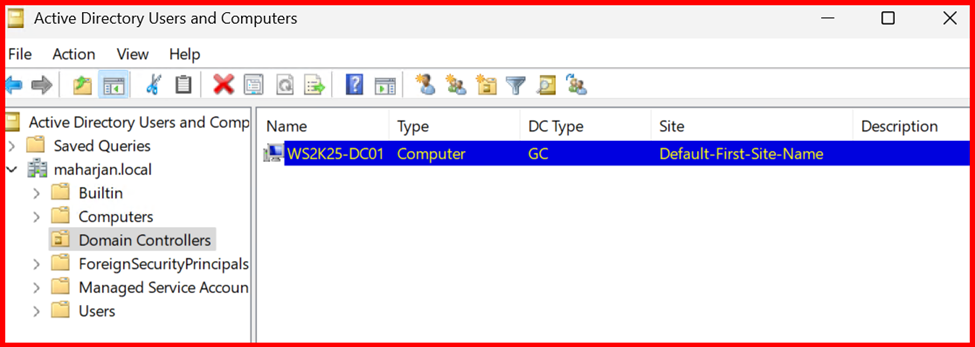
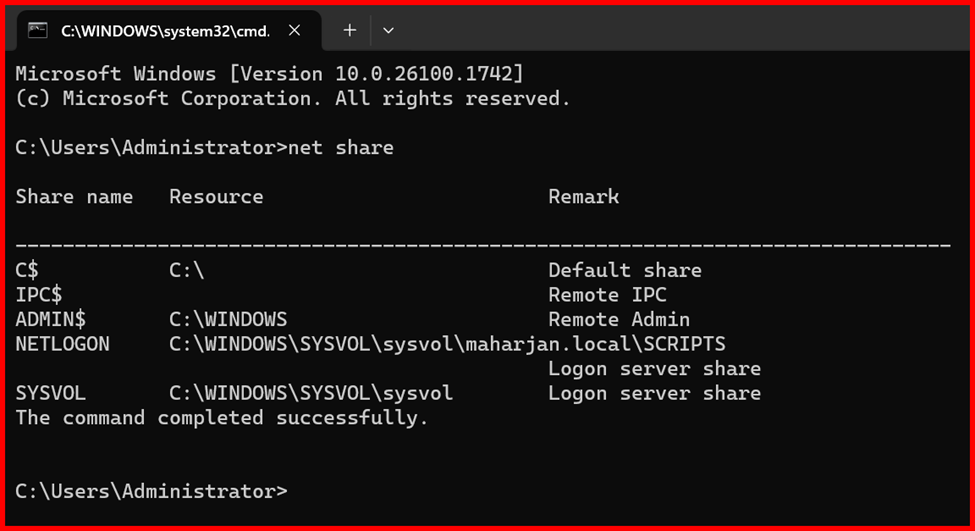
STEP4: Verify Domain Controller
- After rebooting, logging in as MAHARJAN\Administrator
- Open Active Directory Users and Computers
- Confirm the domain and OU structure
🧩 Conclusion Summary
At first, configuring Active Directory in Windows Server seemed a bit overwhelming, but breaking it down into simple, step-by-step tasks—like setting a static IP, installing the AD DS role, and promoting the server—made it much more manageable. Taking the time to understand each part of the process helped me build confidence and essential skills for managing Active Directory and securing a Windows Server environment. It’s a major milestone in my growth as a system administrator.
Leave a Reply